正月飾りに折り紙で鶴を手作り!!簡単な折り方で高齢者や子どもも挑戦だ!!
- 2016/12/26
- 季節行事
- 2 comments
お正月にはリビング、玄関、自分の部屋などをお正月用の飾り付けをして新年を迎えたいですよね。
折り紙を使えばお正月用の飾りを色々と作ることができちゃいます。
折り紙で鶴は定番なのですが、いつもとちょっと違う鶴「祝い鶴」を手作りしてみませんか?
お正月、新年の晴れの日に舞う鶴はおめでたい印象を与えてくれますよ。
スポンサーリンク
正月飾り用に折り紙で祝い鶴を手作りしよう!!
それでは早速、祝い鶴の折り紙での作り方を紹介していきます。
正月用の飾りとして、子どもや高齢者と一緒に作ってみるのも楽しいかと思いますよ。
【難易度】・・・簡単~普通くらい。
【用意するもの】
- 15cm✕15cmの折り紙(色は自由)・・・1枚
- 定規・・・折り筋を付けるときにあると便利です。
【作り方】
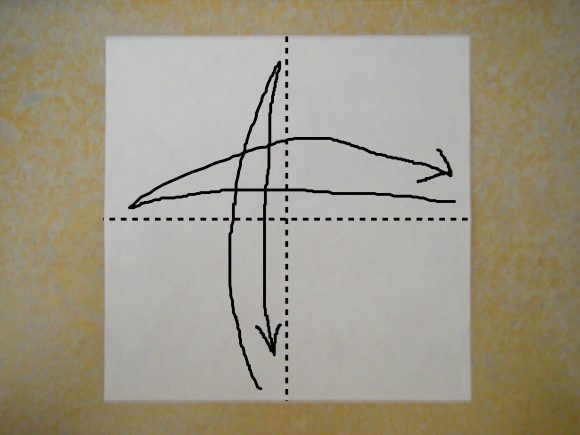
(1)十字に折り筋を付けます。
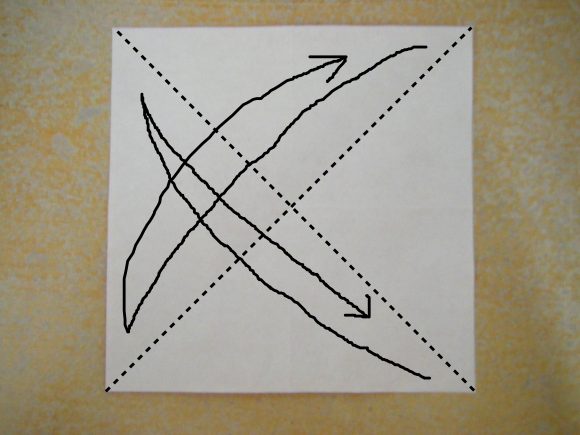
(2)斜めに折り筋を付けます。
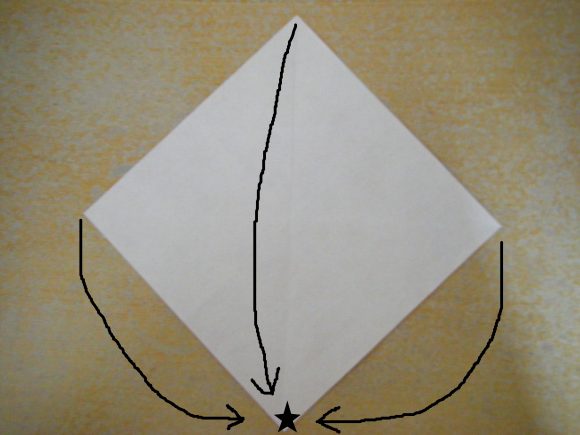
(3)各カドを★に向かって折りたたみます。
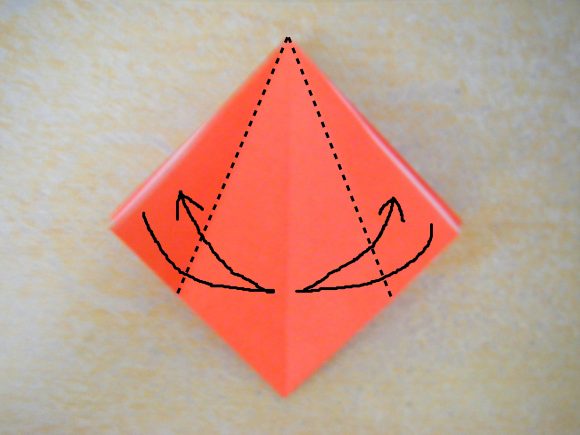
(4)折り筋を付ける。

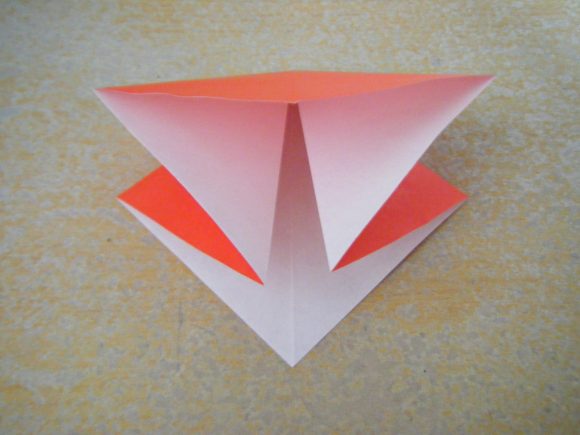
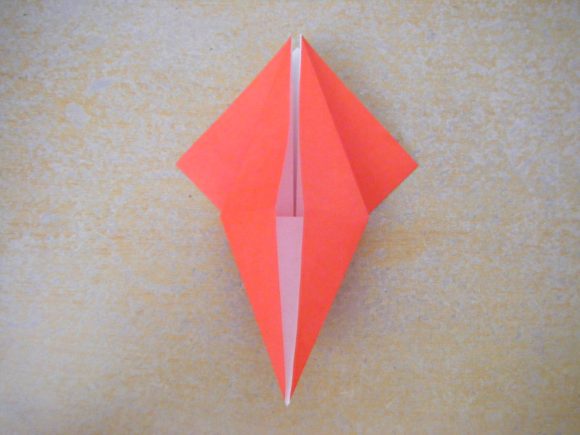
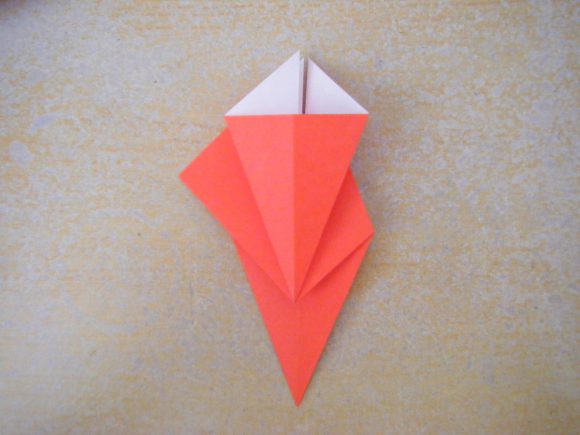
(5)下に開いて折りたたみます。
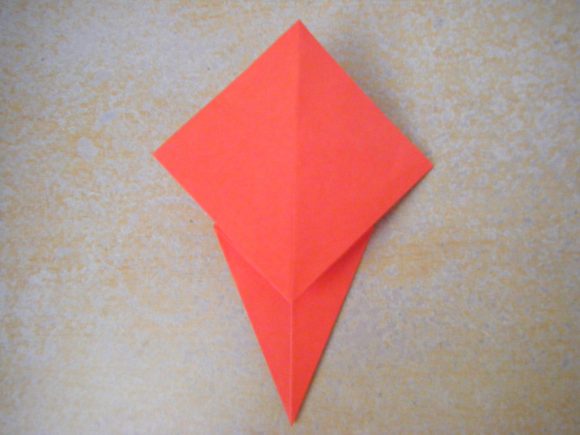
(6)裏返します。

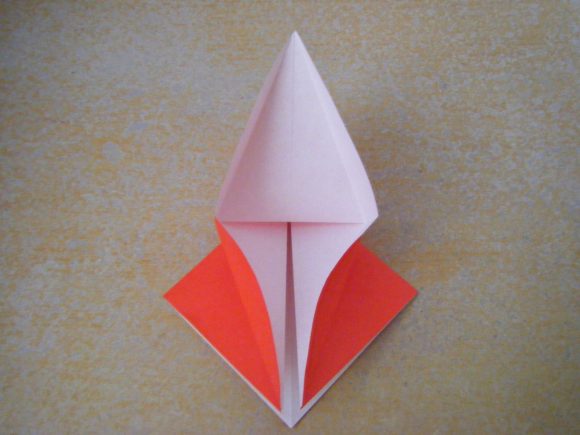
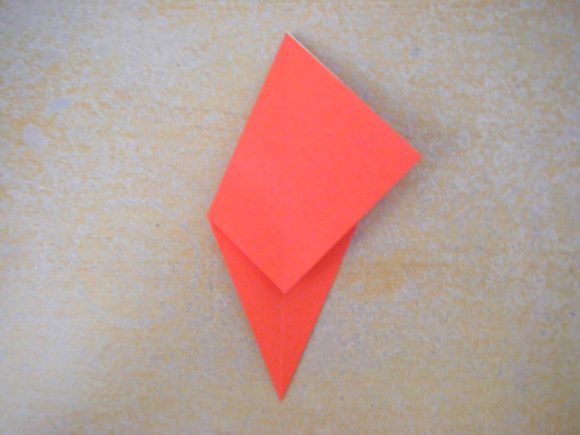
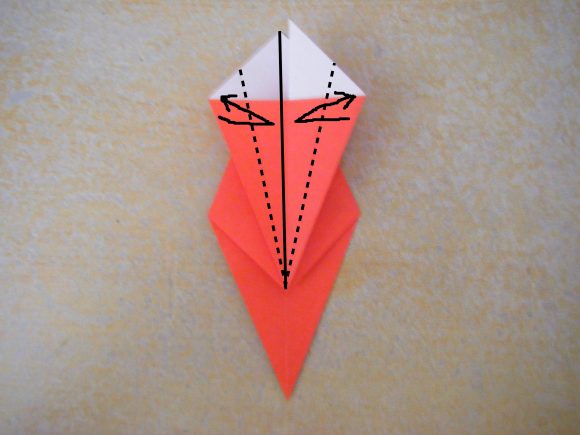
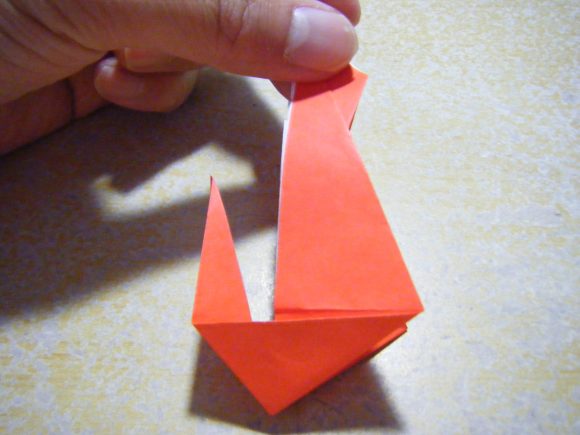
(7)左へ倒します。
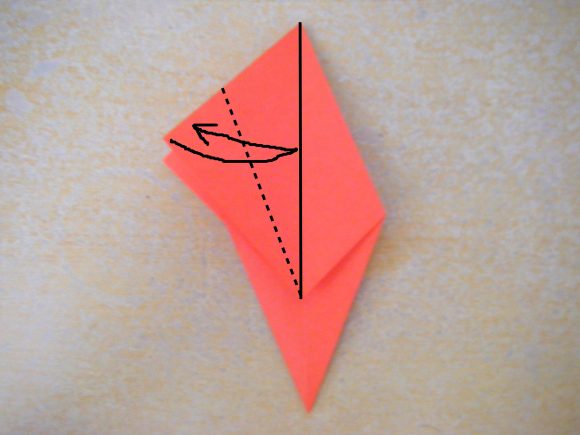
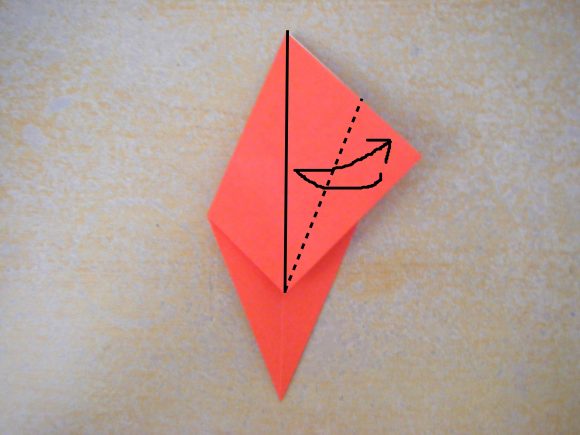
(8)折り筋を付けます。
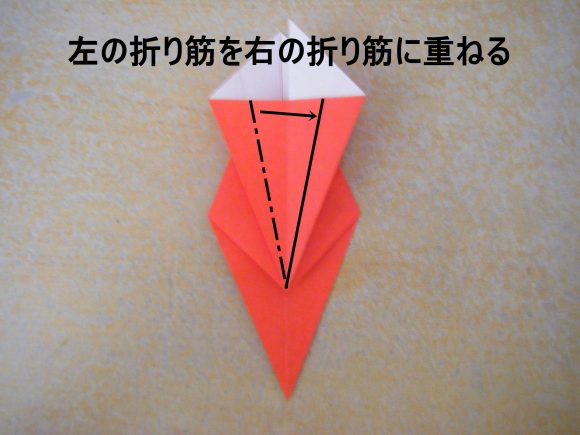
(9)開いてたたみます。
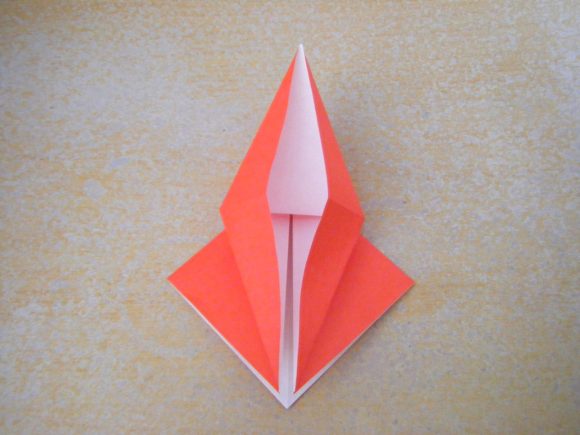
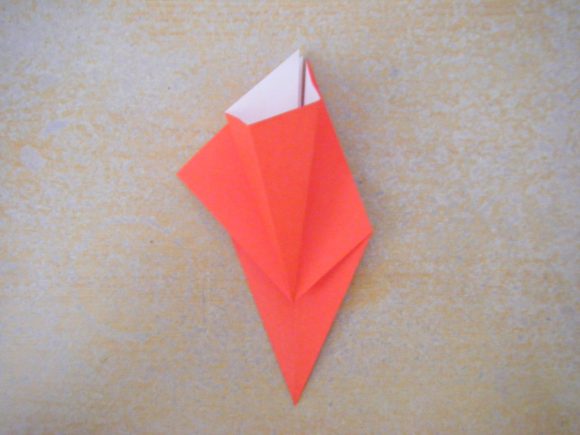
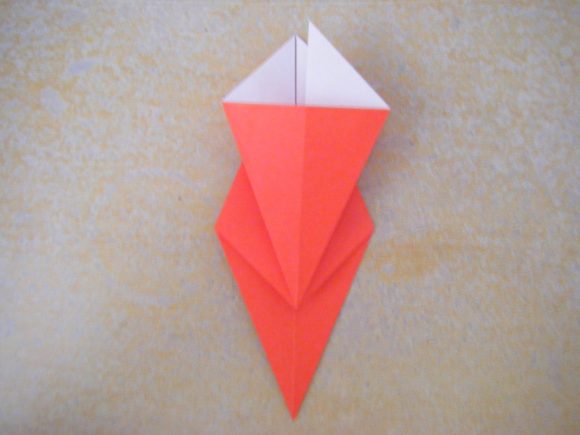
(10)2枚まとめて右へ倒します。
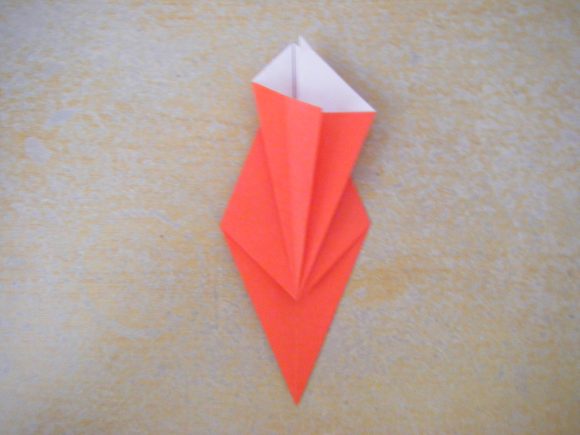
(11)折り筋を付けます。
(12)開いてたたみます。
(13)折り筋を付けます。
(14)中央に開いてから潰します。
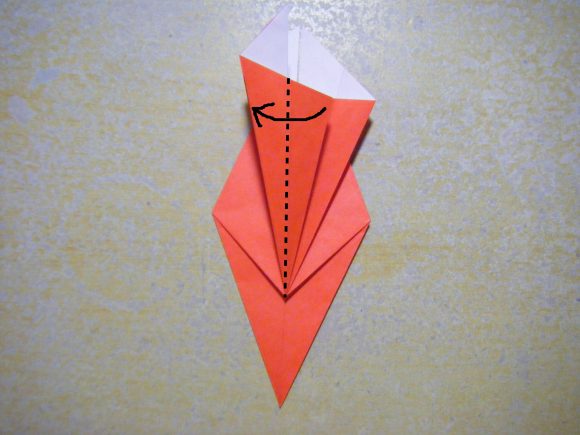
(15)1枚左へ折ります。
(16)(14)と同じように折ります。
(17)1枚左へ倒します。

(18)さらに1枚左へ倒します。
(19)(13)~(17)までと同様に折り筋を付けたり、折ったりしていきます。
(20)左右4つづつめくった所に戻します。
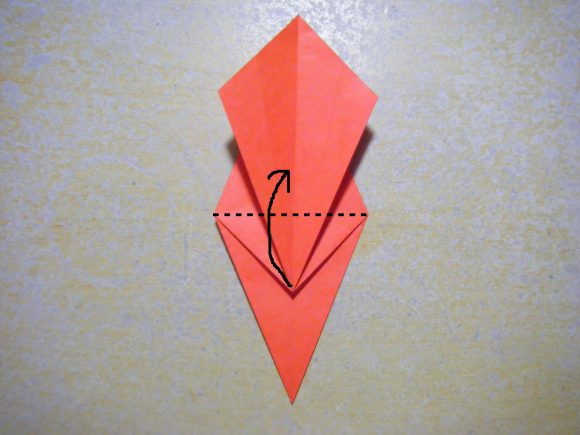
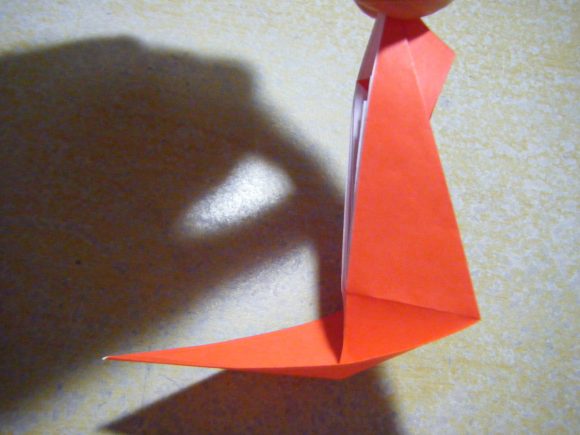
(21)三角形になっているところを上に谷折りします。
(22)半分に谷折りします。
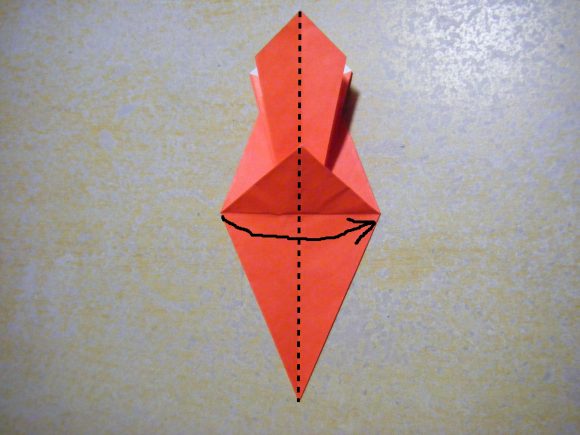
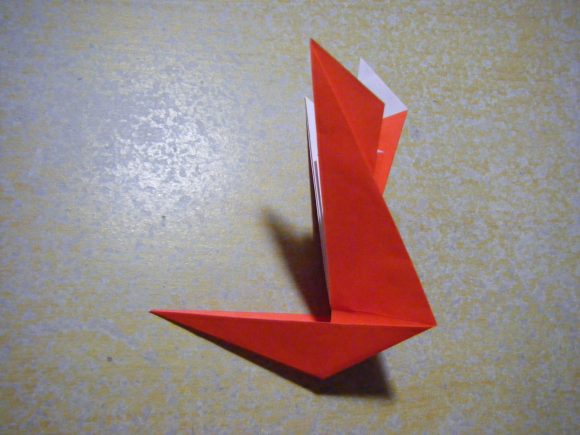
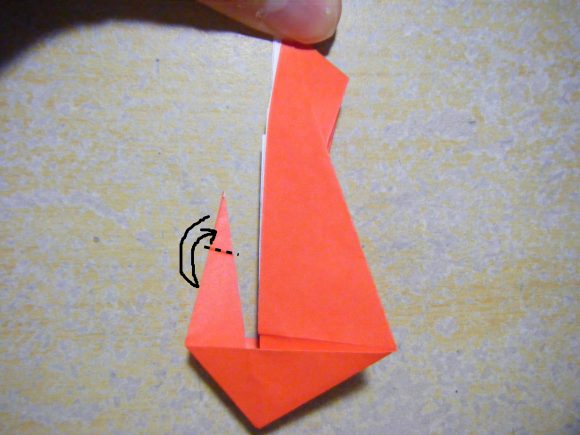
(23)横の折り筋に合わせるように、斜めに折り筋を付けていきます。
(24)斜めに付けた折り筋に合わせて、かぶせるように折っていきます。
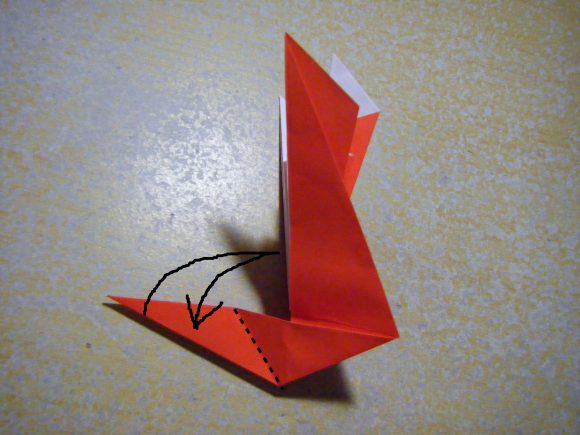
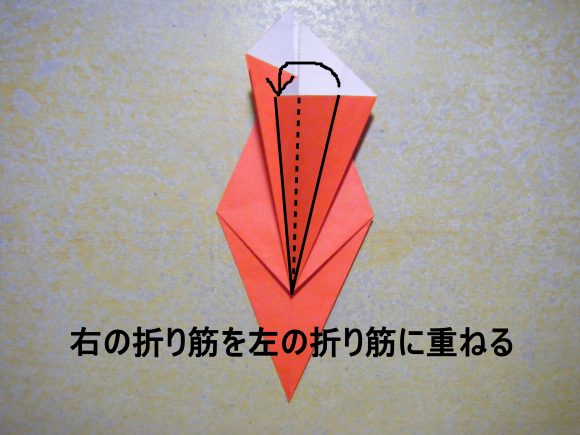
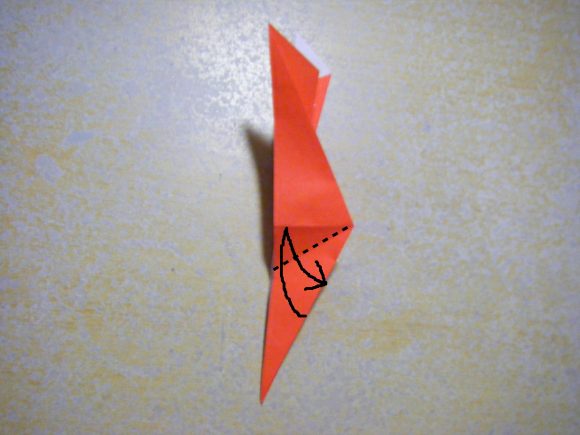
(25)縦の中心ラインに合うように折り筋を付けていきます。
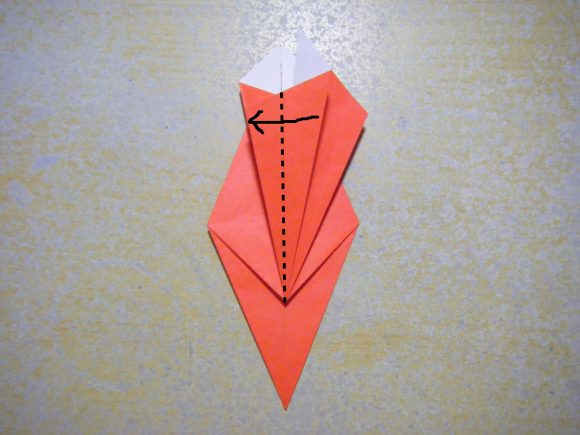
(26)(25)で付けた折り筋に合わせて内側に折っていきます。

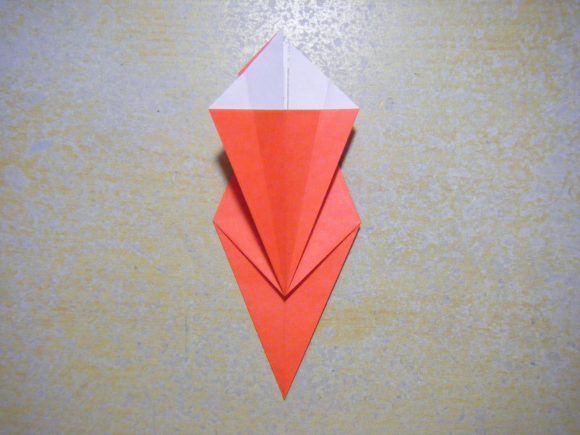
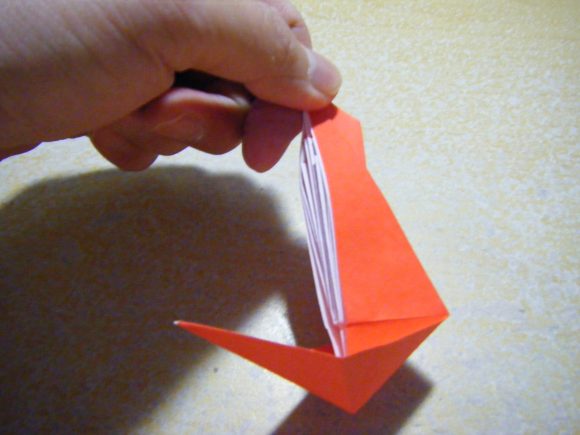
(27)下図のように折り筋を付けていきます。
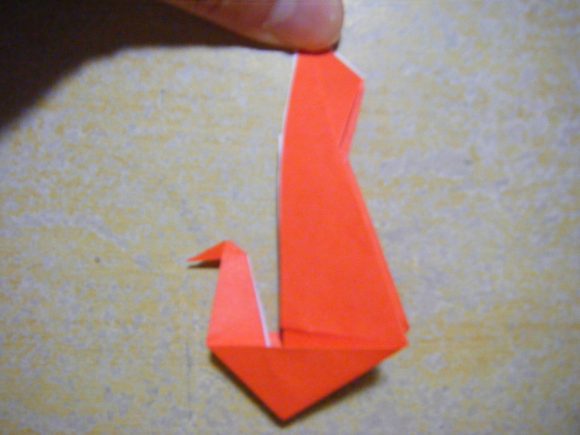
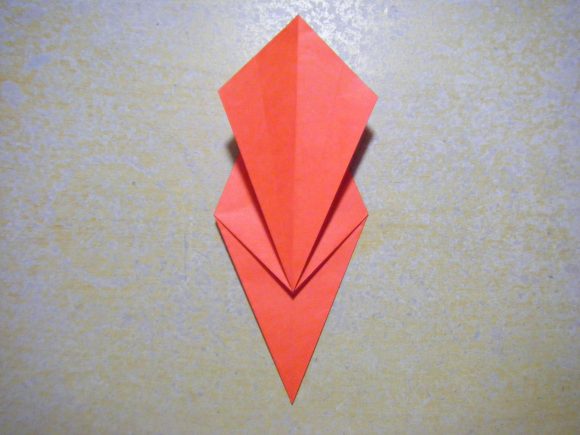
(28)(27)で付けた折り筋に合わせて、内側に折っていきます。
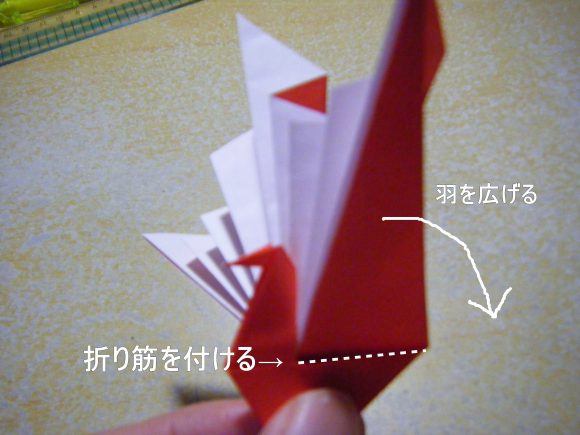
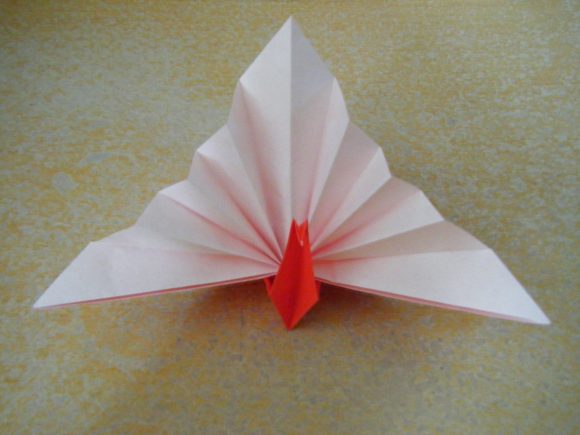
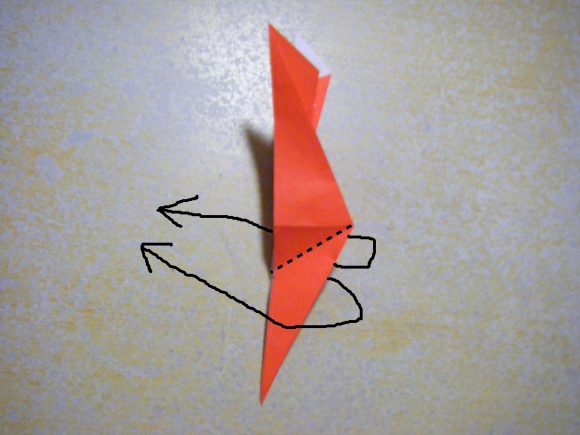
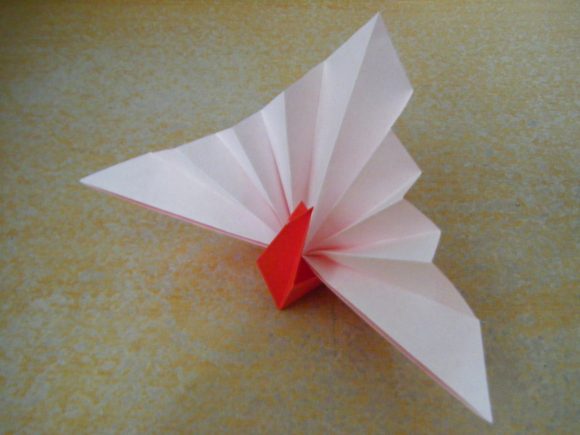
(29)下図のように折り筋を付けて、羽を左右に開いていきます。
(30)祝い鶴の完成です!!
お疲れ様でした!!
これで折り紙での祝い鶴の出来上がりです!!
細かな手作業が必要なわけではないので、難易度的には簡単~普通くらいかと思います。
これなら子どもや高齢者でも挑戦できるレベルかと思います。
家などで子どもや高齢者と一緒に折り紙で手軽に鶴のお正月飾りを作ってみてはいかがでしょうか?
[ad#co-1]
まとめ
今回はお正月用に部屋を簡単に飾り付けできるように、折り紙での祝い鶴の作り方を紹介してきました。
子どもや高齢者と一緒に楽しい時間を過ごす手段としても活用できるかと思います。
比較的簡単に作ることができますので、是非、今回の記事を参考に挑戦してみてくださいね。
■正月の折り紙関連記事
→正月飾りのリース(輪飾り)を折り紙で簡単に手作り!!デイサービスでも是非!!
スポンサーリンク
スポンサーリンク
関連記事


コメント
この記事へのトラックバックはありません。
sponsored link


この記事へのコメントはありません。